
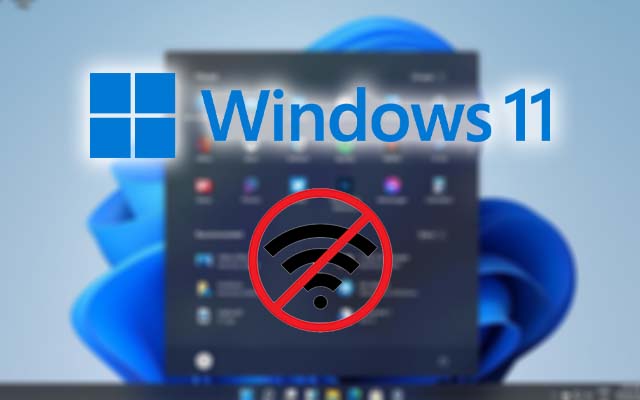
Windows 10 users who have recently upgraded to Windows 11 are facing a lot of issues. As the demand for working from home continues to grow, workers today have to collaborate from different cities, countries, and even different time zones. But working remotely requires a good internet connection and a powerful PC so that you can easily access your remote office system. Several users have complained about an issue, which is Windows 11 WiFi keeps disconnecting issue after updating the new patch. Even when the network is in range, WiFi keeps disconnecting and won’t reconnect. If you are also facing the same issue and your Windows 11 WiFi keeps disconnecting, here is a guide to help you fix the WiFi disconnecting issue on your Windows 11 PC.
1.) Enable/Disable Airplane Mode
If your Windows 11 WiFi keeps disconnecting, the easy solution is to turn Airplane mode on and off again. All radio devices will be disabled and then enabled, including WiFi, Bluetooth, etc. The steps to do this are:
a.) First of all, you need to click on the taskbar in the lower right section.
b.) Here, tap on the Airplane mode. This will disable the Wi-Fi service.
c.) Then turn it off and check if the WiFi still disconnects or not.
2.) Set a Wi-Fi network as a Private Network
If you set your home Wi-Fi network to Public, a different set of firewall and network settings will be applied, which may cause the problem on your Windows 11 PC. Try switching the network profile from public to private. So here are the instructions you should follow:
a.) First, you need to click on the taskbar section where you usually enter the network.
b.) Now click on the arrow icon next to WiFi.
c.) Next, right-click on the network to which you will not be able to connect and select Properties.
3.) Run the Network Troubleshooter
Run the Internet troubleshooter and let Windows 11 try to find and fix the Wi-Fi disconnection issue on your PC. Here are the steps to do that:
a.) First, press the Windows key once and open Settings.
b.) Then on the left sidebar, go to System Preferences.
c.) In System, click Other Troubleshooters.
d.) Then in the “Internet Connections” section, click “Run”.
4.) Reset Network Settings
If nothing has worked so far, you need a full network reset to bring all network configuration settings back to their original state.
a.) First, press the Windows key once and open Settings.
b.) Next, go to the “Network and Internet” section from the left sidebar and scroll down.
c.) Here, click on “Advanced Network Settings”.
d.) Then tap Reset Now, tap again when asked to confirm.
It will reinstall your network drivers and change your internet settings to the factory version. After that, restart your computer and check if your Windows 11 WiFi keeps disconnecting or not.
5.) Wi-Fi Power Management Settings
Windows 11 sometimes puts some system services to sleep, including Wi-Fi and Bluetooth, to conserve battery power. If your Windows 11 WiFi keeps disconnecting, it may be related to your power management settings. This will definitely help you in fixing this problem since it can happen to many users and they claimed that this method could fix the issue. Here are the steps to do that:
a.) First, press the Windows key once and search for Device Manager.
b.) The network adapter option will appear. Expand it, double-click on the driver associated with the WiFi network.
c.) Right-click on the Wi-Fi adapter and select “Properties” from the context menu.
d.) The properties dialogue will now appear. So, go to the Power Management tab.
e.) Uncheck “Allow the computer to turn off this device to save power” on this tab.
f.) Click OK and restart your computer. Now check if the Wi-Fi turning off issue in Windows 11 is fixed.
That is it for today
New blog at 6:00am IST alternative days
Tags:
TECHNOLOGY